Want customers to return without managing piles of paper cards? OOOPEN Lab's Loyalty Card module brings member login, point collection, progress, and redemption into a mobile flow. This guide walks through the decisions and tests required for a usable card.
Why use a digital loyalty card?
Paper cards can be lost, stamped incorrectly, or difficult to reconcile across stores. A digital card can associate progress with a signed-in member and gives staff a controlled way to issue points and record redemption. It also makes non-purchase actions—event check-ins, campaign missions, workshops, or referrals—possible point sources.
Before building, define four things in plain language:
- What action earns a point?
- How many points complete a card?
- What reward is given, and under what restrictions?
- How will staff verify and complete redemption?
Three core capabilities
1. Member login keeps progress connected
Configure a login method that your audience can actually use. Test a first visit, logout, return visit, and second device. The login choice determines whose progress is loaded; it should be decided before issuing production codes.
Collect only the member information your campaign needs, and explain why it is required.
2. Flexible card design
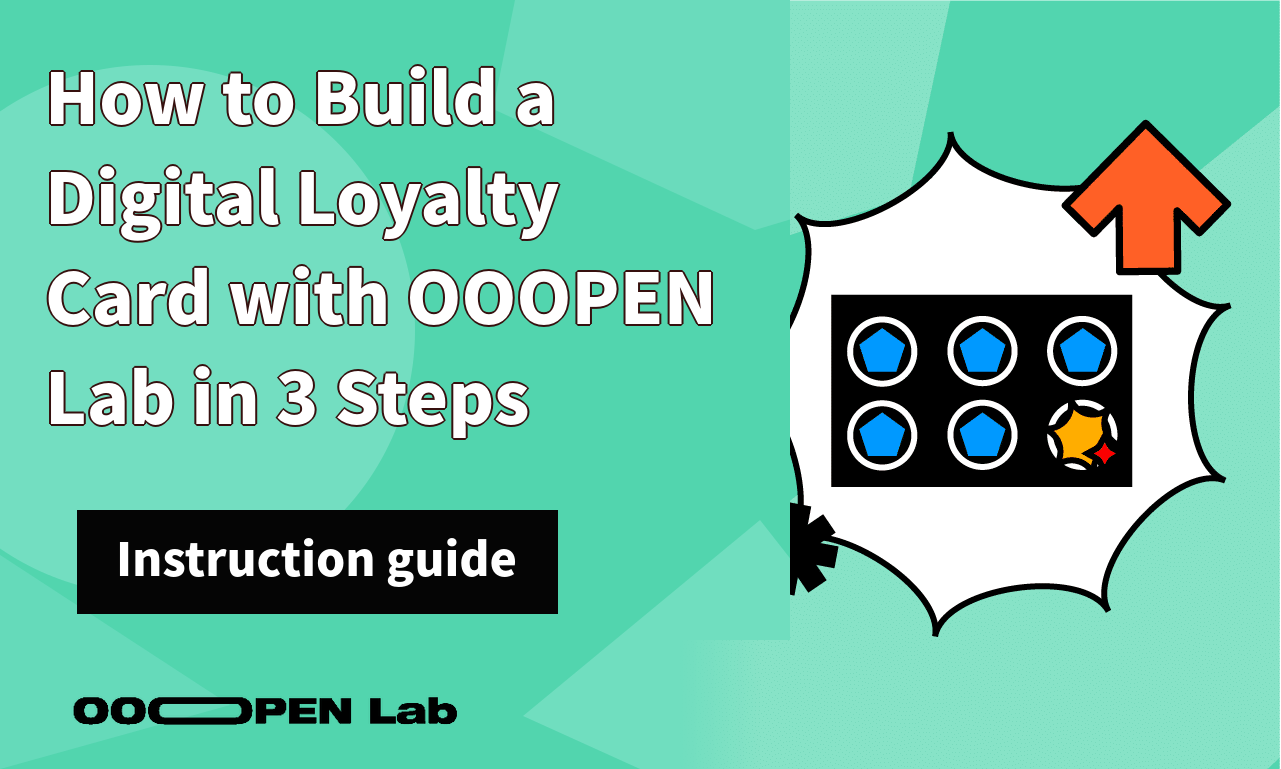
Start from a template or a blank project. Choose the point threshold, card direction, layout, colors, completed-point state, and reward state. Check contrast and spacing on a small phone rather than relying only on the desktop editor.
3. Codes and mobile operation
Create codes in controlled batches and set the intended point value, availability, use limits, and validity period. Staff can give or scan the eligible code according to the event flow. Never publish sample or administrative codes in a public article or screenshot.
Set up the card in three steps
Step 1: Choose a template or blank project
Use a template when its card structure matches your campaign and replace every visual and operational sample data before publishing. Use a blank project when you need to define the entire card system yourself.
Step 2: Configure identity, card, and reward
- Select and test the member login method.
- Choose a point threshold from the available range.
- Style every progress state, including the completed card.
- Write the reward name, eligibility, redemption location, deadline, and restrictions.
- Decide whether a redeemed member can start collecting another card.
Step 3: Create the real point source
Codes are useful for store or event verification. Missions are useful when completing another project should award points. For either method, verify the source value, availability, and limits before launch.
How customers collect points
The participant signs in, opens the card, and completes the required action. They then enter or scan an eligible code, or return from a completed mission. The card refreshes to show the new total.
Test valid, invalid, expired, disabled, and already-used codes. For missions, test the full downstream transition: launch the bound project, complete it, return to the loyalty card, and confirm that points update.
Use gamification without confusing the reward
Progress can encourage repeat participation, but the earning rule must stay simple. Give each activity a reason to exist, show how many points it is worth, and avoid changing the redemption threshold after members have started collecting unless the campaign terms explicitly allow it.
FAQ
Can the card have an activity period? Control the availability of the project and its codes or missions according to the campaign dates. Display the dates and time zone to participants.
What happens if a member changes phones? Progress is associated with the configured member identity. Test signing in with the same account on another device before launch.
Can codes have quantity or use limits? Use the code-management settings to define the intended constraints, then test reuse and exhausted cases.
How does store staff add points? Give staff the approved code or scan flow and a recovery procedure. Do not give public participants administrative access.
What should be tested before launch? Login, first point, repeated point, invalid code, mission return, completion, redemption, and the state after redemption.
Ready to build? Create a Loyalty Card project and run the entire participant-and-staff flow once before publishing.