This article brings together introductions and step-by-step instructions for all the “Advanced Features: Experience Upgrade Features” options on OOOPEN Lab. Check them out now!
Table of Contents
- Interactive media features: Upload GIF
- Interactive media features: Upload Background Music
- Personalization Features: Displays Same Result Ratio on Result Page
- Personalization Features: Answered Questions on Result Page
- Personalization Features: Display Multiple Results by Tags
- Personalization Features: Display Input Text on Result Page
- Generate: AI-Generated Credit Top-Up
Interactive media features: Upload GIF
If you want to go beyond static images and showcase animations, you can upgrade to enable the “Upload GIF” feature. Once unlocked, you’ll be able to create eye-catching visuals that help users focus on the key points!
Blocks That Support GIF Uploads
- Cover
- Project Logo
- Project Image/GIF
- Questions:
- In the Psychological Test, Multi-Psychological Test, Scoring Test, Survey (both one-question-per-page and multiple-questions-per-page formats), and Scoring Challenge modules:
- You can upload images in the default “Upload Question Image” section.
- In the “Input Options” area, when using “Display Image” or “Display Text and Image” mode, you can also upload images for each option.
- In the Psychological Test, Multi-Psychological Test, Scoring Test, Survey (both one-question-per-page and multiple-questions-per-page formats), and Scoring Challenge modules:
- Personalized Results
- Result Image
- Custom Image
- Second Result Image
- Brand Logo
*If you don’t see this section on the page, simply enable it from “Block Adjustment” at the top. On the result page of any module, you can also add a “Custom Image” section through “Add a Block” to upload your image.
For detailed instructions, please refer to the article “How to Add Images/GIFs to Your Project? Are There Any Upload Restrictions?”
Interactive media feature: Upload Background Music
If you want to greatly enhance the immersive atmosphere of your project, you can upgrade to enable the “Upload Background Music” feature. This allows users to feel as if they’re truly part of the experience and boosts interactivity.
This feature is available for all modules. In addition, the “Dodging Runway” module also allows you to upload extra sound effects for both failure and success!
For detailed instructions, please refer to the article “How to upload background music for your project? Which pages will the music play on?”
Personalization Features: Display Same Result Ratio on Result Page
If you want to encourage users to share your game or test with friends, you can upgrade to the “Display Same Result Ratio on Result Page” feature. This feature instantly calculates all response data, so users can see messages like “You are the same as XX% of people,” helping them quickly understand how unique they are!
Note: This feature is only available for “Psychological Test” Multiple Psychological Test” projects.
For detailed instructions, please refer to the article “How to Set “Display Same Result Ratio on Result Page“?”
Personalization Experience: Display All Answered Questions on the Result Page
If you want to increase user engagement and sharing, you can upgrade to the “Display All Answered Questions on the Result Page” feature. This allows users to review their answers after completing the challenge, directly on the result page!
Note: This feature is only available for “Score Challenge” projects.
Steps:
- After creating the result page for your “Score Challenge” project, select the “Displays answered questions” block in the result page editor.
- If you don’t see this block, click “Block Adjustment” in the upper right corner and enable the “Displays answered questions” block.
- Once enabled, you can freely customize the text, size, font, color, and border thickness.
- After editing, you can use this block freely on your test result page.
Personalized Features: Answered Questions on Result Page
If you want to make the result page more dynamic, you can upgrade to the “Answered Questions on Result Page” feature. Once unlocked, in addition to showing the highest-scoring result, you can also display other ranked results based on calculated scores, giving users deeper insights into themselves!
Note: This feature is only available for “Psychological Test” and “Multiple Psychological Test” projects.
Steps:
- After creating the result page for your “Psychological Test” or “Multiple Psychological Test” project, select the “Secondary Result Image,” “Secondary Result Text,” or “Secondary External Link” blocks in the result page editor.
- If you don’t see these blocks, click “Block Adjustment” in the upper right corner and enable the “Secondary Result Image,” “Secondary Result Text,” and “Secondary External Link” blocks.
- To add more blocks, click the “Add a Block” button in the bottom right corner.
You can add up to four groups of “Secondary Result Image” and “Secondary Result Text” blocks.
- Once the blocks are enabled, you can freely select which secondary results you want to display.
Personalized Features: Input Text on Result Image
If you want to create a truly personalized experience, you can upgrade to the “Input Text on Result Image” feature. Once unlocked, you can show the user’s name or other personal information entered during the test directly on the result image, making the result feel even more unique and customized!
Note: This feature is only available for “Psychological Test” and “Multiple Psychological Test” projects.
Steps:
- Create a “Custom Text” question on the test page. This allows users to enter their own information, which can then be displayed on the result page (such as the user’s name).
- After creating the result page for your “Psychological Test” or “Multiple Psychological Test” project, click the button in the upper right corner of the “Result Image” block in the result page editor.
- Once the block is enabled, you can freely customize the text, size, font, color, and more.
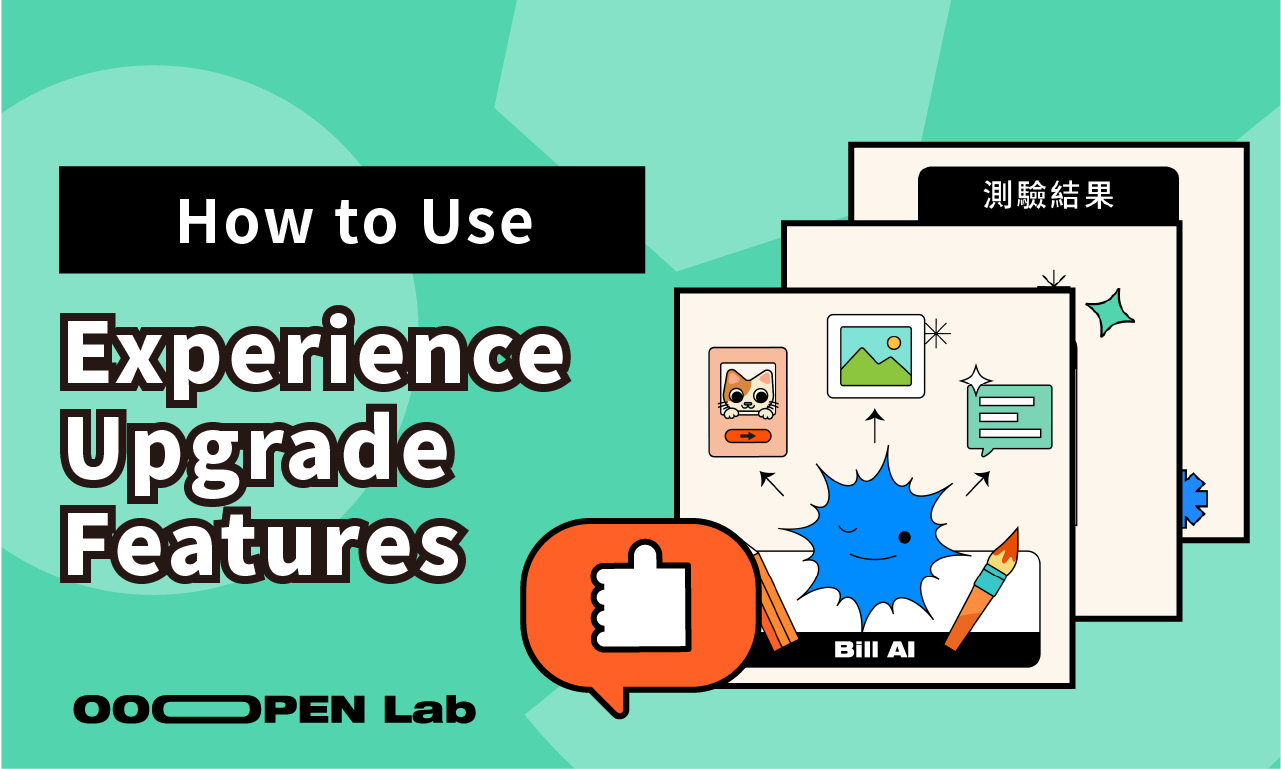
Generate: AI-Generated Credit Top-Up
If you’re not confident in writing copy or creating images, and you like using AI to help brainstorm and refine your project content, you can purchase “AI Generation Credit Top-Up” at any time. If you use up your included credits for the month, you can buy additional credits whenever you need, there’s no limit based on your subscription plan.
Currently, you can use Bill AI to generate an entire test at once, partially rewrite questions/options/result texts, or generate and regenerate cover images, question illustrations, and result images.
Now register as a Creator and start building with the free trial right away!
Simply click “Login/Register” at the top right to become a Creator. With the free plan, you can create, edit, and publish unlimited projects with no time limit!
The free plan currently offers unlimited trial use with some feature restrictions. You can view details in the backend under “Purchase Plan > Click to Expand Full Feature Comparison Table.” Before officially publishing, simply purchase a plan online to instantly activate your account and unlock publishing permissions within 1 minute!