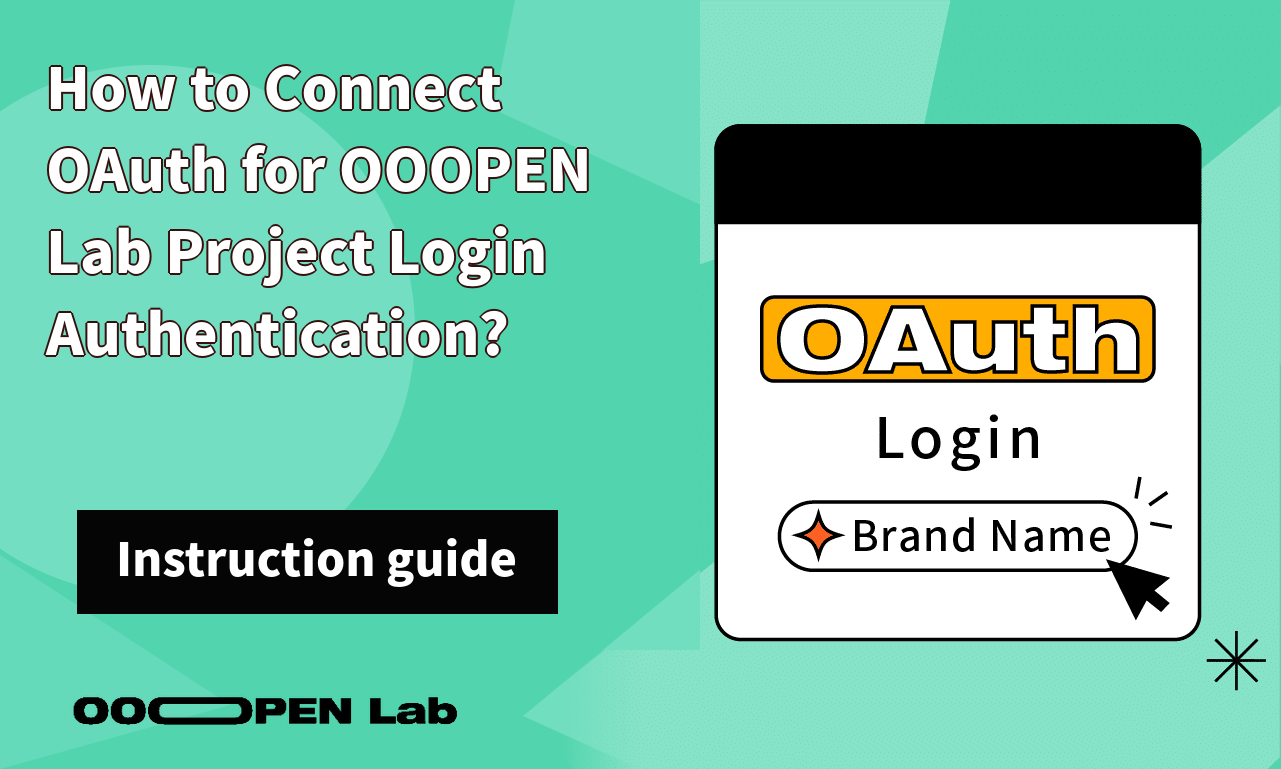
If you want players to log into your own membership system (brand website or member center) before starting to answer a psychological test or interactive project, OOOPEN Lab’s advanced feature “Connect brand member accounts to log in” provides two OAuth login flows.
Whether you want to import user data through an existing SSO mechanism or control answer permissions to restrict participation to members only, this article explains how to set up the OAuth login process and provides return examples!
Table of Contents
- How to enable OAuth? Are there sample return data?
- How to set each field? Detailed explanations and examples below!
- LINE Login example: match members to friends of your LINE Official Account
How to Enable OAuth? Are There Sample Return Data?
- Before purchasing, go to the project backend and click “Logging Requirements Settings”
- In the popup, select “Custom OAuth Login” to set the relevant information according to the fields
- Combine “Your Platform Name” and “Login Button Color” settings to adjust the login button style (see attached image below)
- Before official launch, remember to become a paid user and purchase the advanced feature “Connect Brand Member Accounts to Log in” to enable it (How do I choose a plan?)
How to Set Each Field? Detailed Explanations and Examples Below!
OAuth Login URL
- The URL opened when the user clicks “Login with (your platform)”, which will automatically include the redirect_uri URL parameter (URLSearchParams). After the user logs in, redirect the user to that URL.
- If your login URL is:
https://mycoolapp.com/oauth/login?param1=value1¶m2=value2
- If your login URL is:
- When the user clicks the login button from OOOPEN Lab, the opened URL will look like this:
https://mycoolapp.com/oauth/login?param1=value1¶m2=value2&state=random_hash&redirect_uri=https://ooopenlab.cc/auth/0123456789abcdef/callback
*Reminder: OOOPEN Lab will automatically append two parameters: redirect_uri and state - After the user completes login in your interface, redirect them back to redirect_uri, and optionally include the state security parameter.
- Each module has its own dedicated redirect_uri. If your OAuth provider requires a whitelist setup for redirect_uri, you can copy the URL from the section shown below.
Returned Authorization Type (Grant Type)
The authorization type used when redirecting after user login. Please include the required parameters according to the instructions. We recommend the more secure Authorization Code method.
- If using Authorization Code, include ?code={code} in the URL when redirecting back to redirect_uri. This parameter is your issued Authorization Code and will be used in the next token exchange step.
- If using Implicit Flow, include ?access_token={access_token} in the URL when redirecting back to redirect_uri. This parameter is the access_token used in subsequent API calls.
(Conditional) Token Exchange URL
- If using Authorization Code in the previous step, when the user is redirected back to OOOPEN Lab, this Token exchange URL is used to obtain access_token or id_token.
- The request will be sent using x-www-form-urlencoded POST, including the code and redirect_uri from the previous step as body parameters.
How to Obtain User Data
Choose whether to obtain user data using the OpenID Connect protocol or a regular API. According to your choice, set the corresponding connection URL.
(Conditional) OpenID Connect (OIDC) URL
If you set up OpenID Connect, OOOPEN Lab will automatically connect using the Token set in the previous step. It will prioritize connecting with access_token. If id_token is also received, it will use id_token as well.
- The request will be sent using x-www-form-urlencoded POST:
- For access_token connection, the access_token will be included in both the Bearer Header and x-www-form-urlencoded body. Choose either validation method according to your needs.
- For id_token connection, the id_token will be included in the x-www-form-urlencoded body.
- The OIDC return is in standard format. The sub field is the unique identifier used to distinguish users. If an Email field is also returned, it will be recorded in the response record as well.
Example:
{
“sub”: “10769150350006150715113082367”,
“email”: “[email protected]”,
…
}
(Conditional) User Info API URL
The request will be sent using GET.
- For access_token connection, the access_token will be included in both the Bearer Header and the URL query. Choose either validation method according to your needs.
- The API must return a single JSON object and must include an id field. This id is the unique identifier used to distinguish users. If an Email field is also returned, it will be recorded in the response record as well.
Example:
{
“id”: “user_id”,
“email”: “[email protected]”,
…
}
LINE Login Example: Match Members to Friends of Your LINE Official Account
OOOPEN Lab also provides a built-in “Social media login > LINE” option. That option uses OOOPEN Lab’s shared LINE Channel, so its LINE user ID is different from the friend ID used by your own LINE Official Account. To match a respondent with a friend in your own MA or CRM system, use “Custom OAuth login” with a LINE Login Channel that you created.
Use the OpenID Connect method. Replace {Channel ID} and {Channel secret} with the values from your LINE Developers Channel. Remove the braces as well. For example, enter client_id=1234567890, not client_id={1234567890}.
| OAuth Login URL | https://access.line.me/oauth2/v2.1/authorize?response_type=code&client_id={Channel ID}&scope=profile%20openid%20email |
| Grant Type | Authorization Code |
| Token Exchange URL | https://api.line.me/oauth2/v2.1/token?grant_type=authorization_code&client_id={Channel ID}&client_secret={Channel secret} |
| User Data Retrieval Method | OpenID Connect |
| OpenID Connect (OIDC) URL | https://api.line.me/oauth2/v2.1/verify?client_id={Channel ID} |
Optional OAuth Login URL settings:
- Keep
emailin the scope to request an email address. LINE must approve email permission for the Channel first. - Add
bot_prompt=normalif the login flow should also invite the player to add the linked LINE Official Account.
Add the OOOPEN Lab redirect_uri to the LINE Channel
LINE Login accepts only allowlisted Callback URLs. If the callback is missing, LINE blocks the player after login. Add the module-specific OOOPEN Lab redirect_uri in LINE Developers Console:
- Copy the module-specific
redirect_urifrom the OOOPEN Lab OAuth settings. It uses the formathttps://ooopenlab.cc/auth/{quizId}/callback; OOOPEN Lab supplies the project ID. - Open LINE Developers Console, choose the Provider, and open the corresponding LINE Login Channel.
- Open the “LINE Login” tab. Find “Callback URL,” select “Edit,” paste the
redirect_uri, and save it. - If one LINE Login Channel serves several OOOPEN Lab projects, add every project’s
redirect_urito the Callback URL list on its own line.
After the integration is complete, the member ID in the Webhook payload, “Answer Data,” and CSV export is the LINE user ID. It can match the userId from the Messaging API only when the LINE Login Channel and the Official Account’s Messaging API Channel belong to the same LINE Developers Provider.
For LINE Developers setup, Webhook examples, JavaScript parsing, and troubleshooting, see Connect LINE Login with Custom OAuth and Match OOOPEN Lab Respondents to Official Account Friends.
Now register as a Creator and start building with the free trial right away!
Simply click “Login/Register” at the top right to become a Creator. With the free plan, you can create, edit, and publish unlimited projects with no time limit!
The free plan currently offers unlimited trial use with some feature restrictions. You can view details in the backend under “Purchase Plan > Click to Expand Full Feature Comparison Table.” Before officially publishing, simply purchase a plan online to instantly activate your account and unlock publishing permissions within 1 minute!